Baselines
What a baseline captures
A baseline is a point-in-time snapshot of your project's requirements state. When you create a baseline, 4Spec records:
- Requirements: All requirement summaries, descriptions, statuses, and custom field values.
- Tree structure: The folder hierarchy and the position of each requirement within it.
- Linked test cases: Which test cases are linked to each requirement.
- Coverage: The coverage status (covered, partially covered, uncovered) of each requirement.
- Execution results: The latest execution result for each linked test case at the time of the snapshot.
Baselines are immutable. Once created, the data in a baseline cannot be modified.
Creating a baseline
To create a baseline that captures the current state of your project:
- Open 4Spec from your project sidebar.
- Switch to the Baselines tab (under Reporting & Compliance).
- Click + Create Baseline.
- Enter a name for the baseline (e.g., "v2.0 Release Candidate", "Sprint 14 End").
- Optionally add a description.
- Click Create.
The baseline is created immediately. Depending on the number of requirements, the snapshot may take a few seconds to complete.
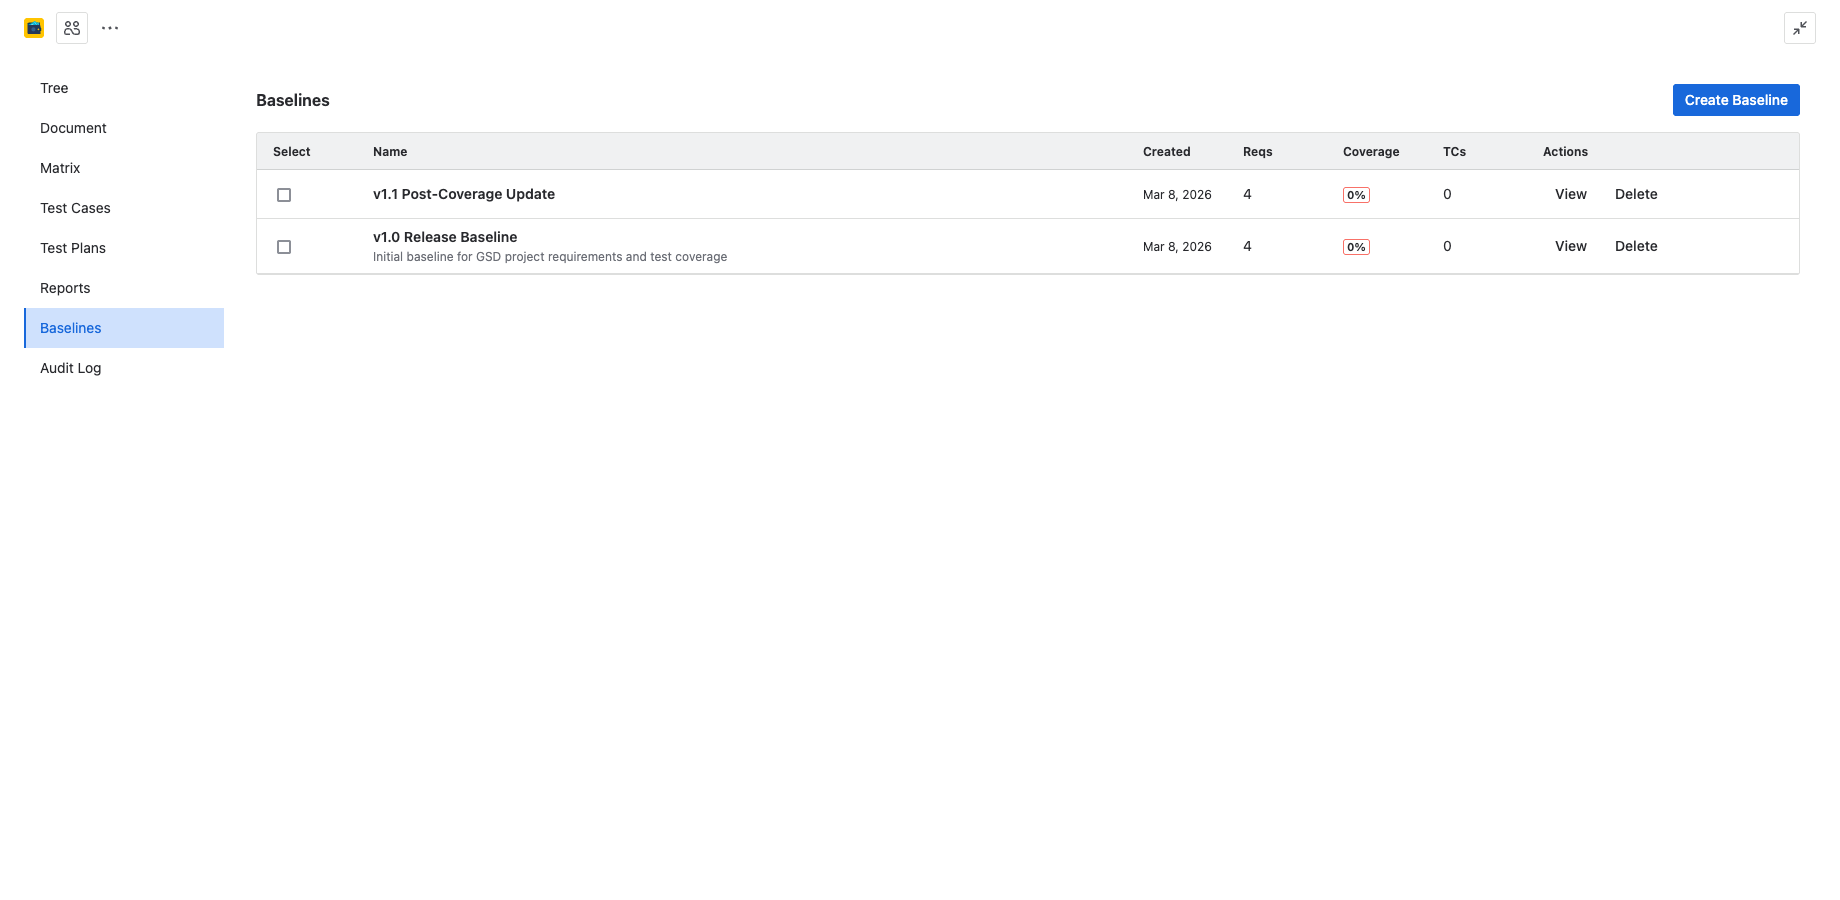
Viewing a baseline
Click on any baseline in the list to open it. The baseline viewer presents a read-only view of the project as it was at the time of the snapshot. You can browse:
- Tree view: The requirement folder structure as it existed at baseline time.
- Document view: Requirements rendered as a structured document.
- Matrix view: The traceability matrix showing requirement-to-test-case links and coverage.
All views are read-only. You cannot edit requirements or links from within a baseline.
Comparing baselines
4Spec lets you compare two baselines side by side, or compare a baseline against the current live state of the project. To start a comparison:
- Open the Baselines tab.
- Select two baselines using the checkboxes, then click Compare. Alternatively, open a baseline and click Compare with... to choose the second baseline or "Current State".
- The comparison view shows a diff of both snapshots.
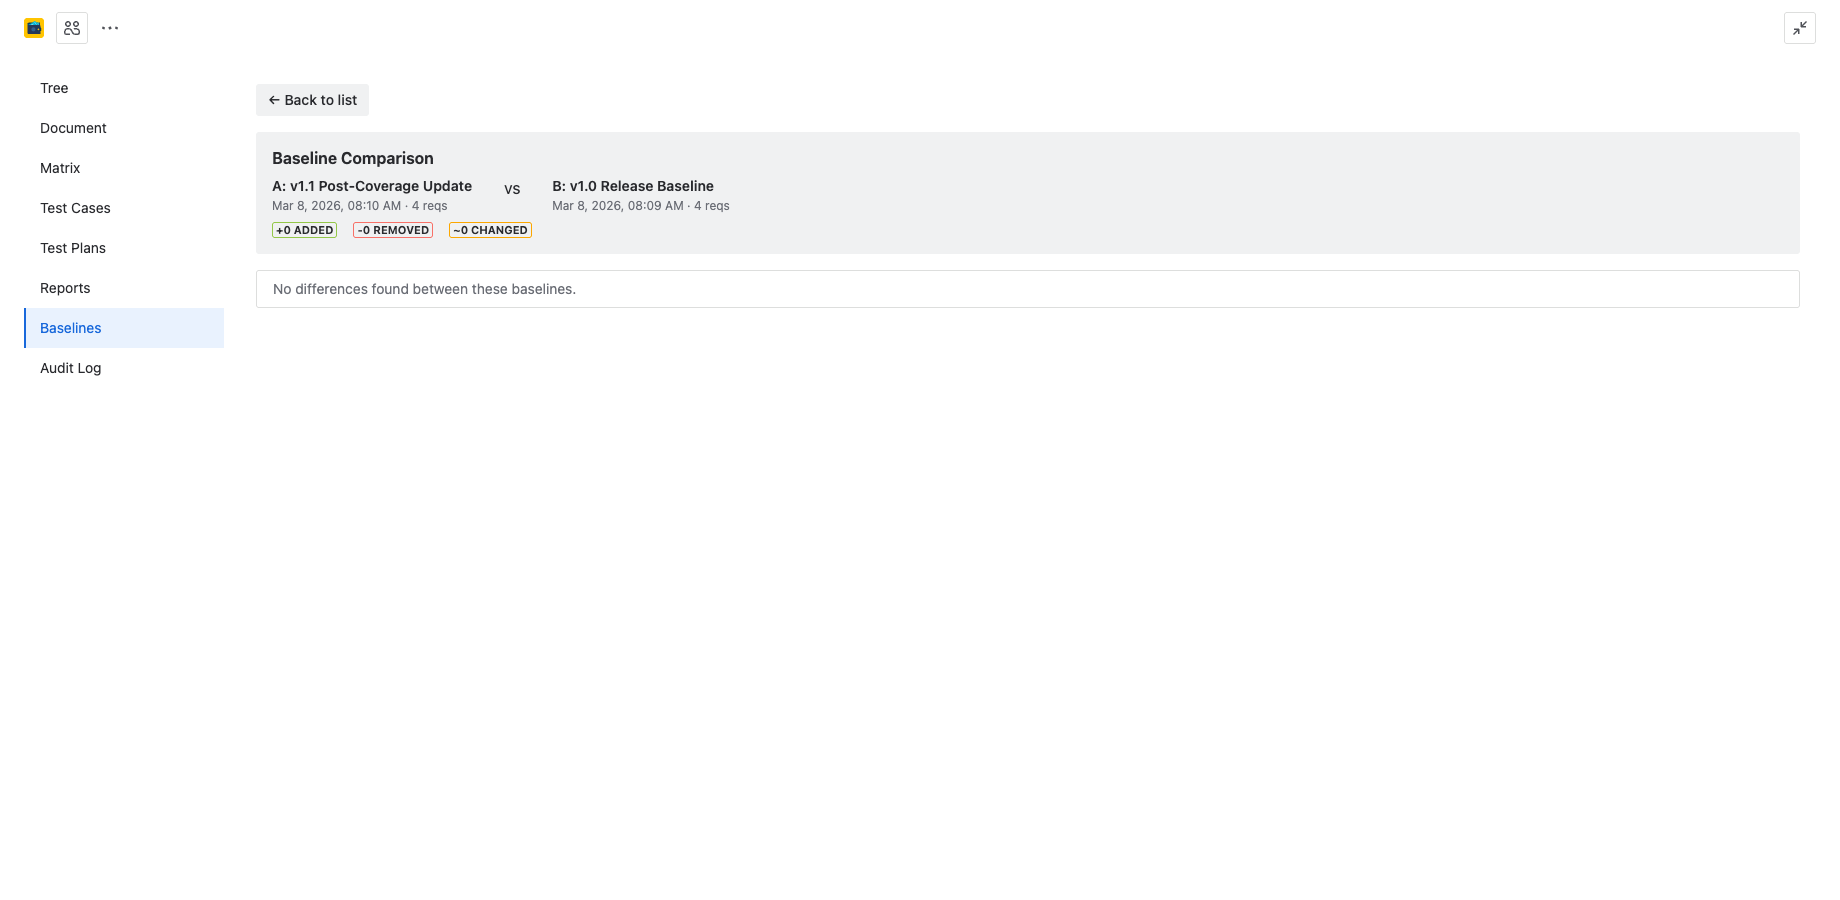
Change indicators
The comparison view uses color-coded indicators to highlight differences between the two snapshots:
| Color | Meaning |
|---|---|
| Green | Added — the requirement exists in the newer snapshot but not in the older one. |
| Red | Removed — the requirement exists in the older snapshot but not in the newer one. |
| Yellow | Modified — the requirement exists in both snapshots but its summary, description, status, or links changed. |
Unchanged requirements are shown without any indicator.
Coverage delta tracking
When comparing baselines, 4Spec calculates and displays the coverage delta — how coverage has changed between the two snapshots. This includes:
- Overall coverage change: e.g., "Coverage improved from 72% to 89%".
- Newly covered requirements: Requirements that gained test case links since the older baseline.
- Newly uncovered requirements: Requirements that lost coverage (e.g., linked test cases were removed).
- Coverage by folder: Per-folder coverage percentages for both baselines, shown side by side.
The coverage delta is also used by the Requirements Trend report to chart coverage over time.
Deleting baselines
To delete a baseline, open the Baselines tab, click the kebab menu next to the baseline, and select Delete. A confirmation dialog will appear.
Deleting a baseline is permanent and cannot be undone. The deletion is recorded in the audit log. Consider whether you need the baseline for historical comparison or compliance purposes before deleting it.